
One of the biggest issues with project cars is how much space they take up. Not only do you need the car but there are an unimaginable amount of tools and materials needed to work on project cars. This means garage space is at a premium and in an effort to better assist my future car projects I designed this welding table that also will house my bench grinder and tabletop sander.
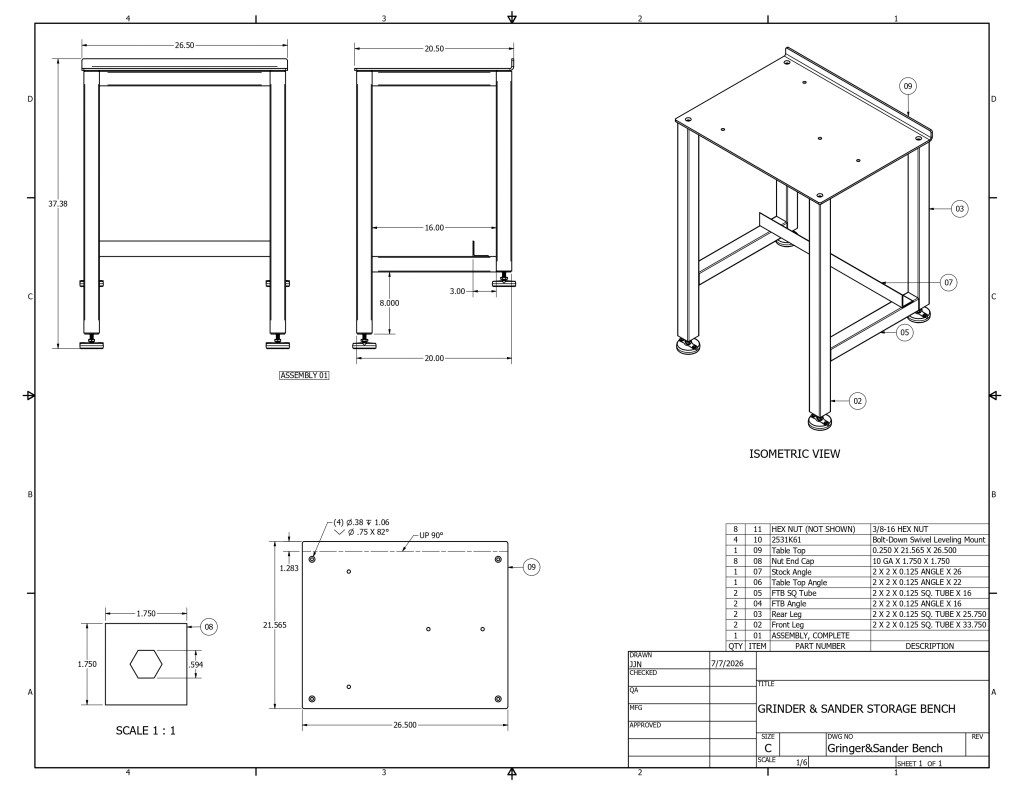
The first step in this project was grabbing some dimensions in the garage for the target area this bench will be in. I then determined that a simple tube and angle design could be used with higher rear legs to tuck into the concrete foot that runs the length of the wall. I created a top plate that bolts onto the rest of the frame in case I would like another plate that has acorn cutouts for welding. The frame uses 3/8-16 nuts that are welded into the end caps for the top and bottom tubes to allow for adjustable feet so the bench can be leveled. The angle in the rear of the bench will be used to store extra sheet metal and sawcut scrap pieces.
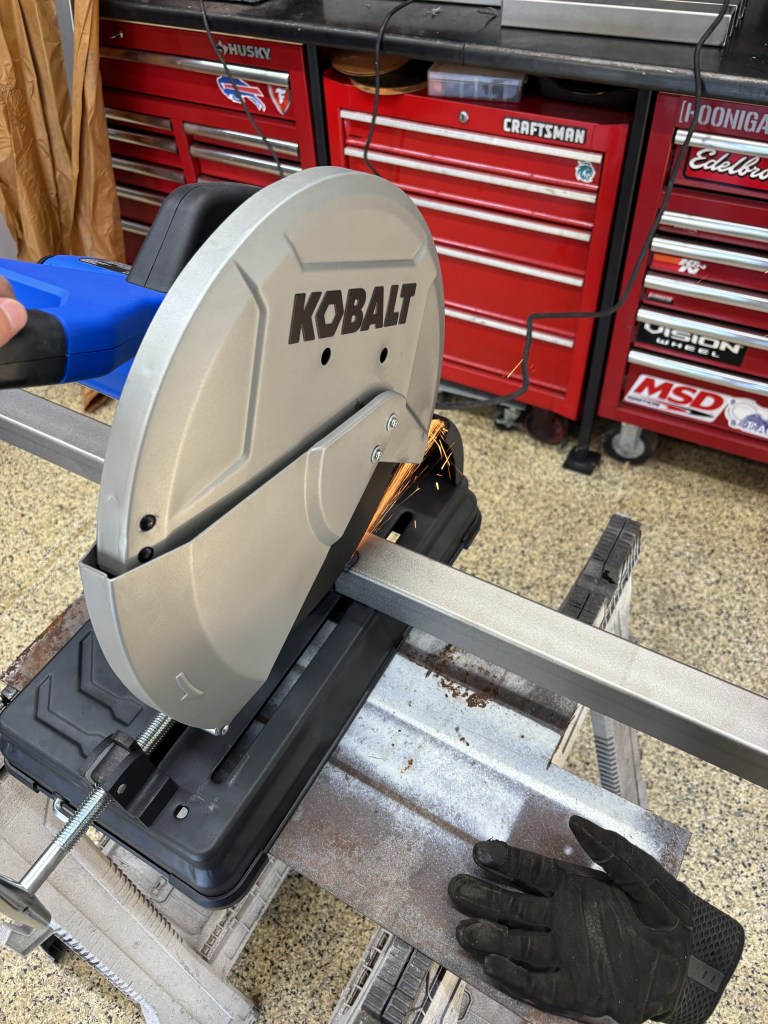
The next step in the build process was to get the sheet metal parts out to the laser. Once the lasered parts were sent out, I cut all of the tubing and angle to length with a cut saw. All of the sawcut parts were run through a media blaster to prepare for welding.
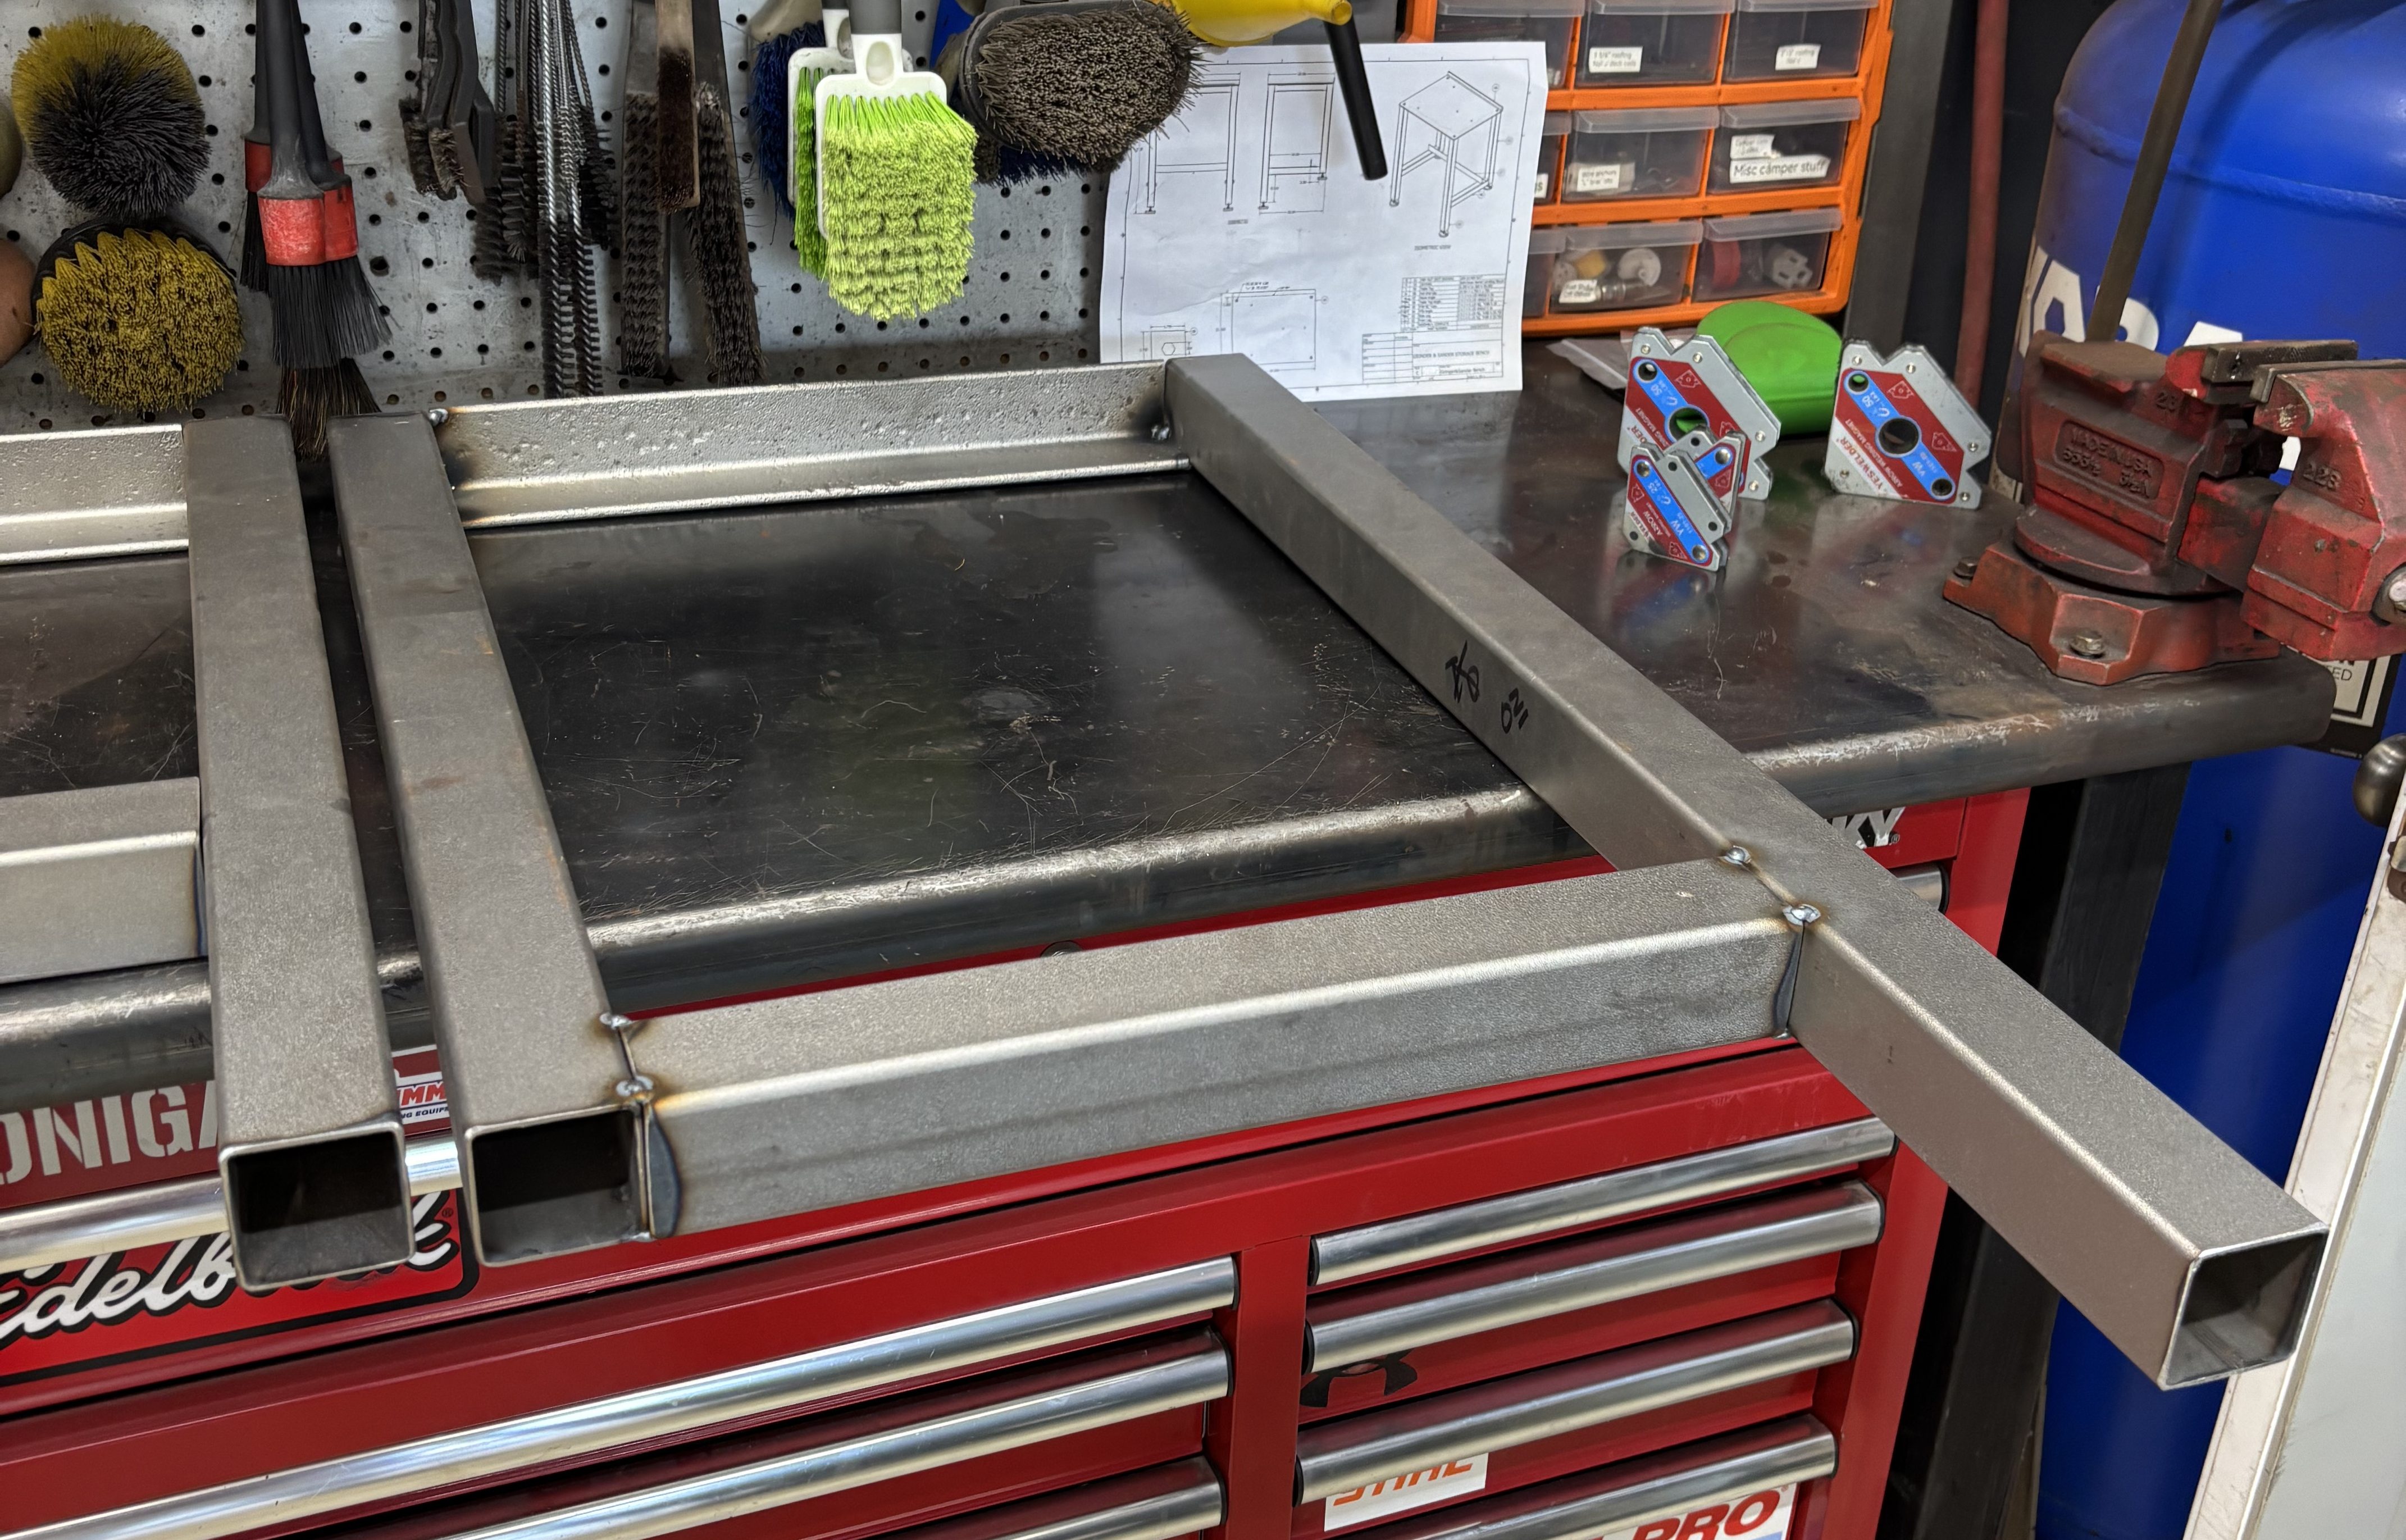
Next, the bench was assembled in two separate sides. I used 90 degree magnets to hold each tube while I tacked them together with a Mig welder. This was a bit of a learning experience in regard to tolerance stack and holding dimensions true during the welding process. It may have been better to use a 1-2-3 machinist block with clamps to make the corner joints perfectly 90 degrees, but without a machinist block on hand I used an angle finder to confirm each corner. The angle iron I used for this job seemed to be a different material than the tubing which resulted in excess porosity and overall poor welds.
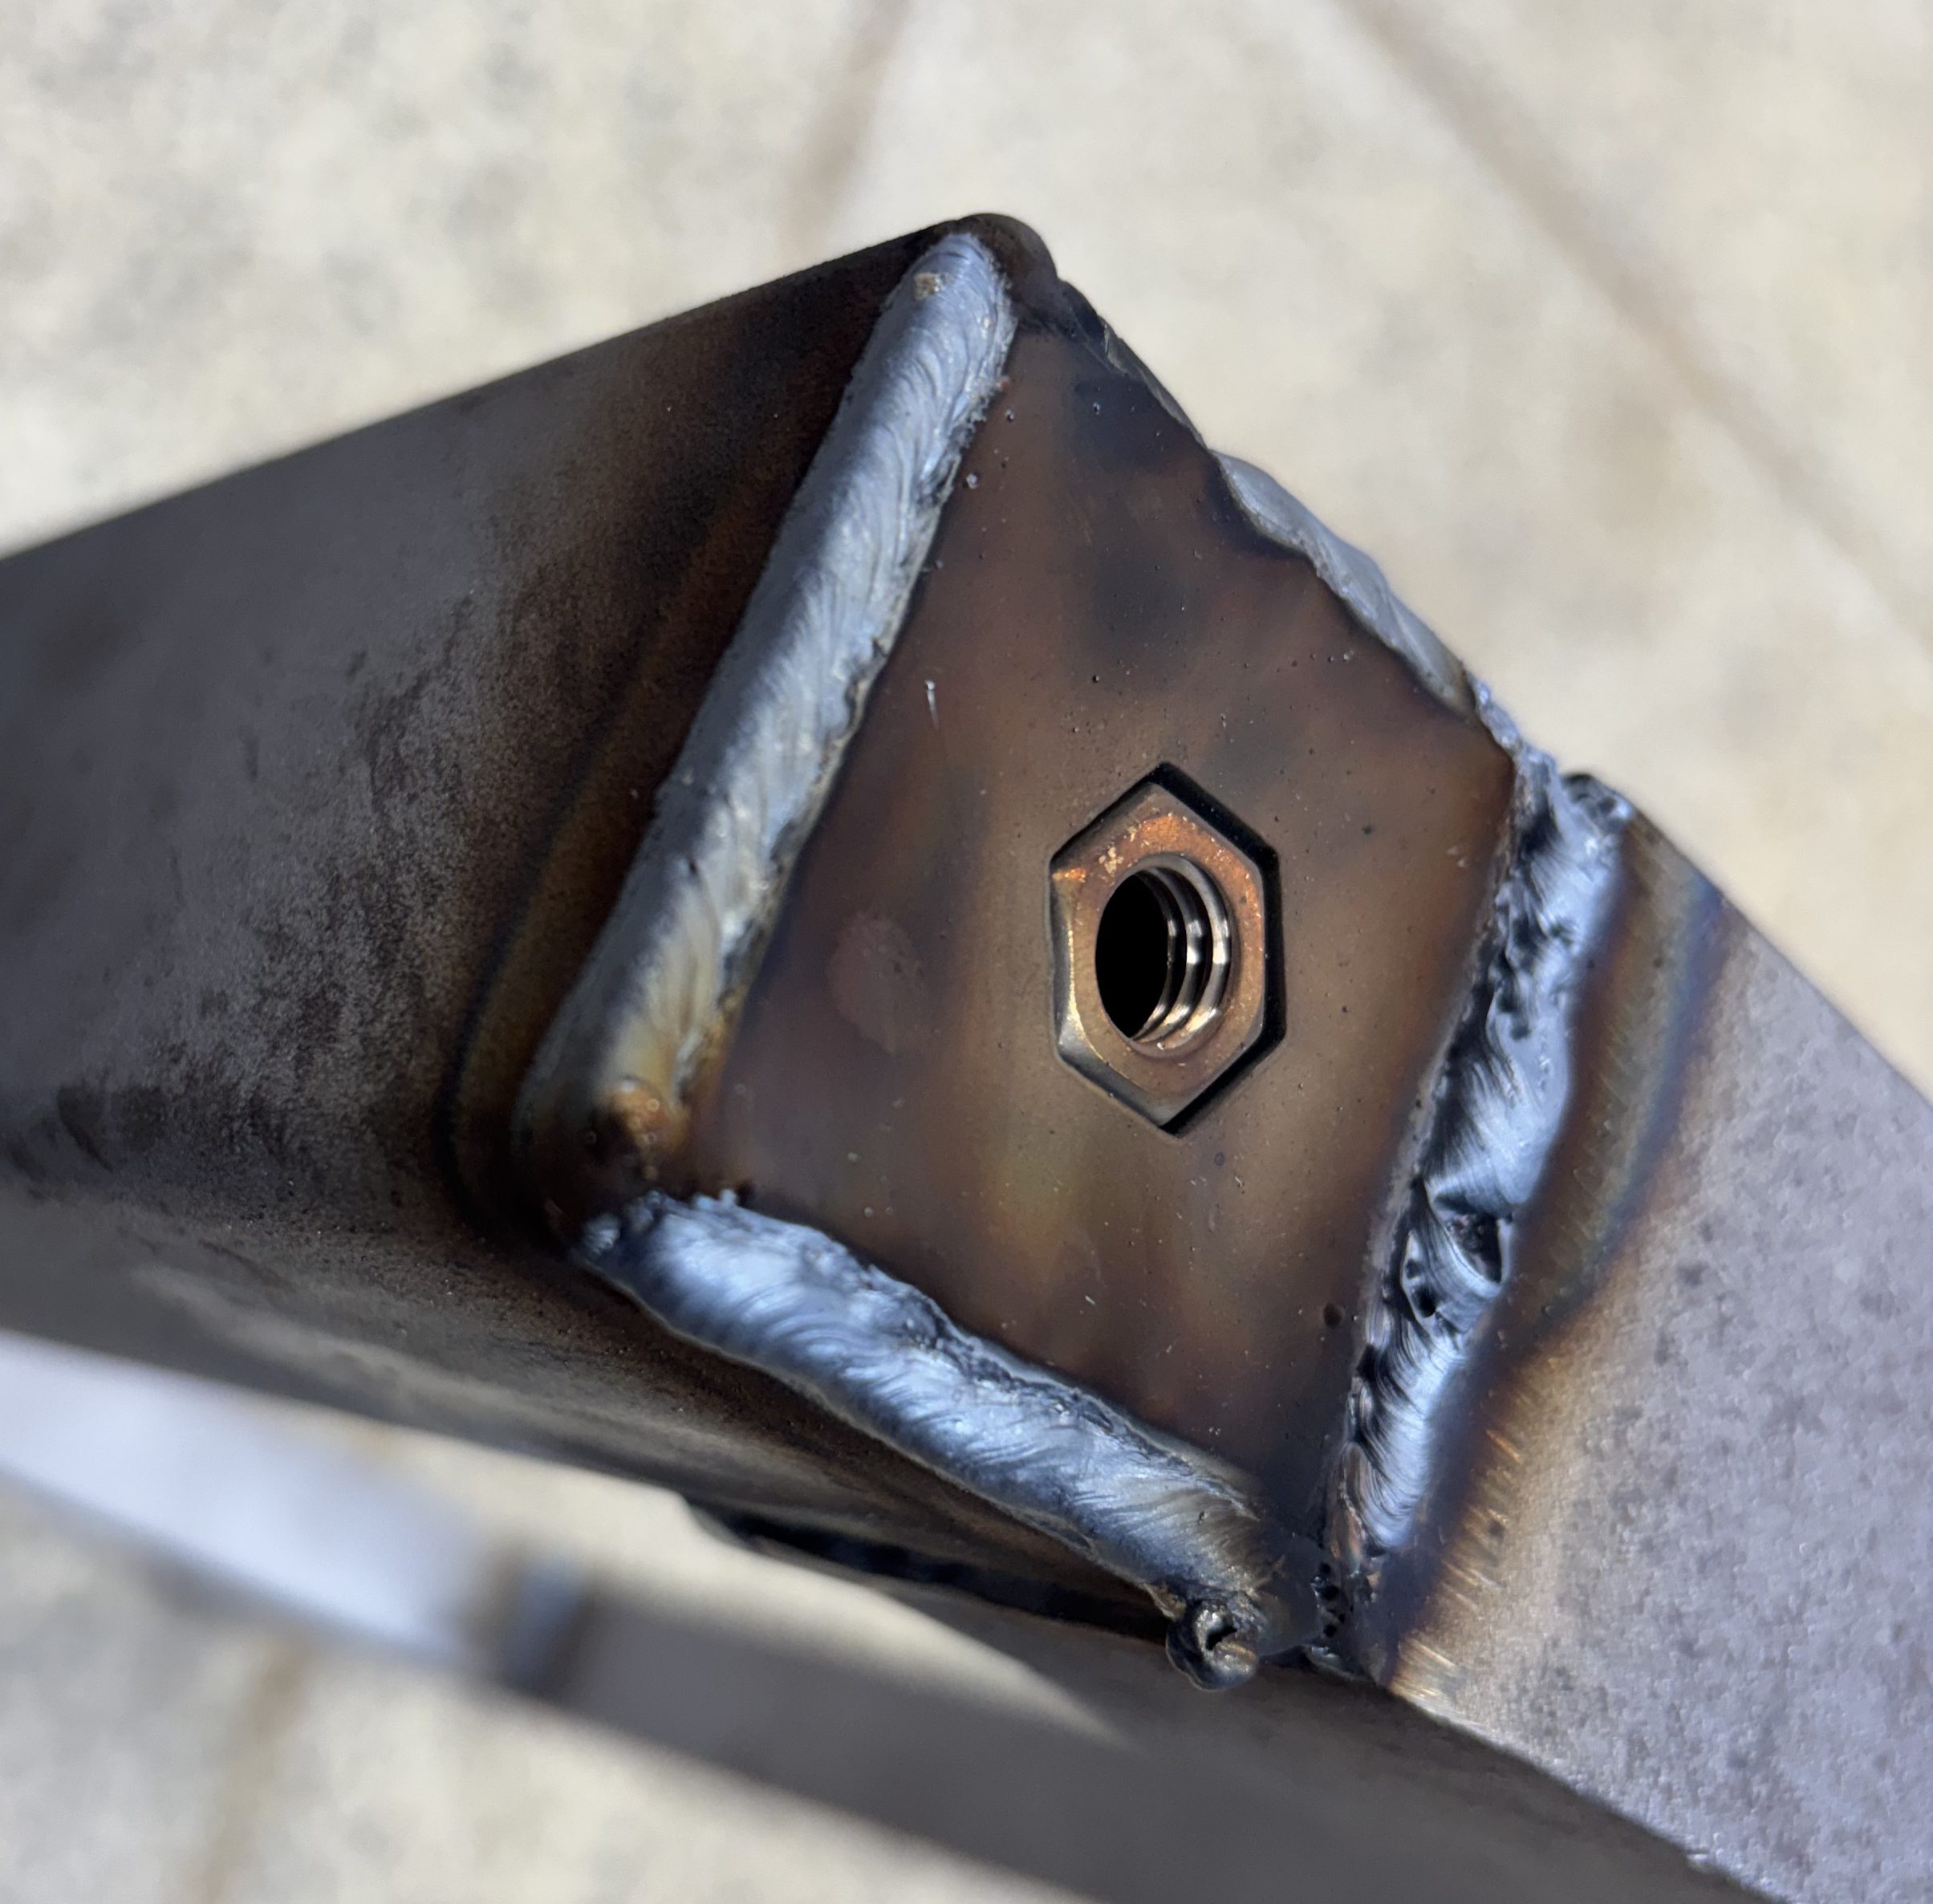
As seen above the sheet metal to tubing welds are much better than the angle iron. After fully welding all of the tube or sheet metal joints I went back through each angle iron weld joint and ground and rewelded them while focusing the puddle on the side of the sheet metal. This yielded much better results than the initial welds. I believe that the angle iron may have been cast which could attribute to the porosity.
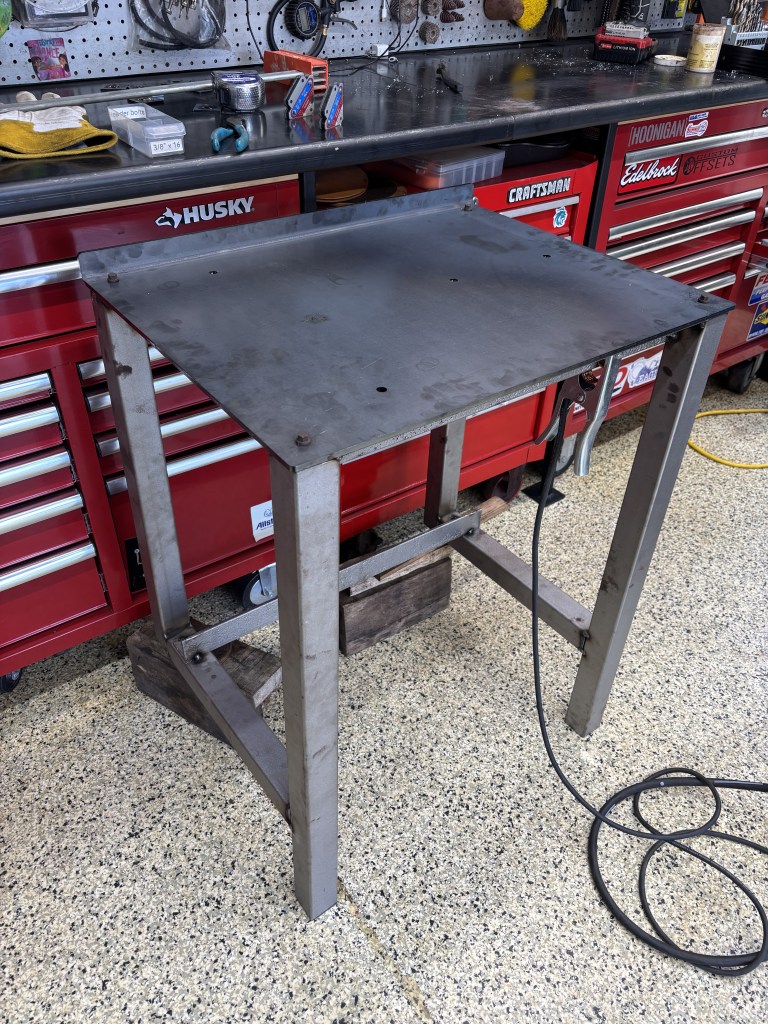
To guarantee fitment of the sheet metal top to the bench a full set up was done when everything was tacked. After making sure the stop plate outer bolt holes were concentric with the nuts welded to the end caps, the frame was finish welded.
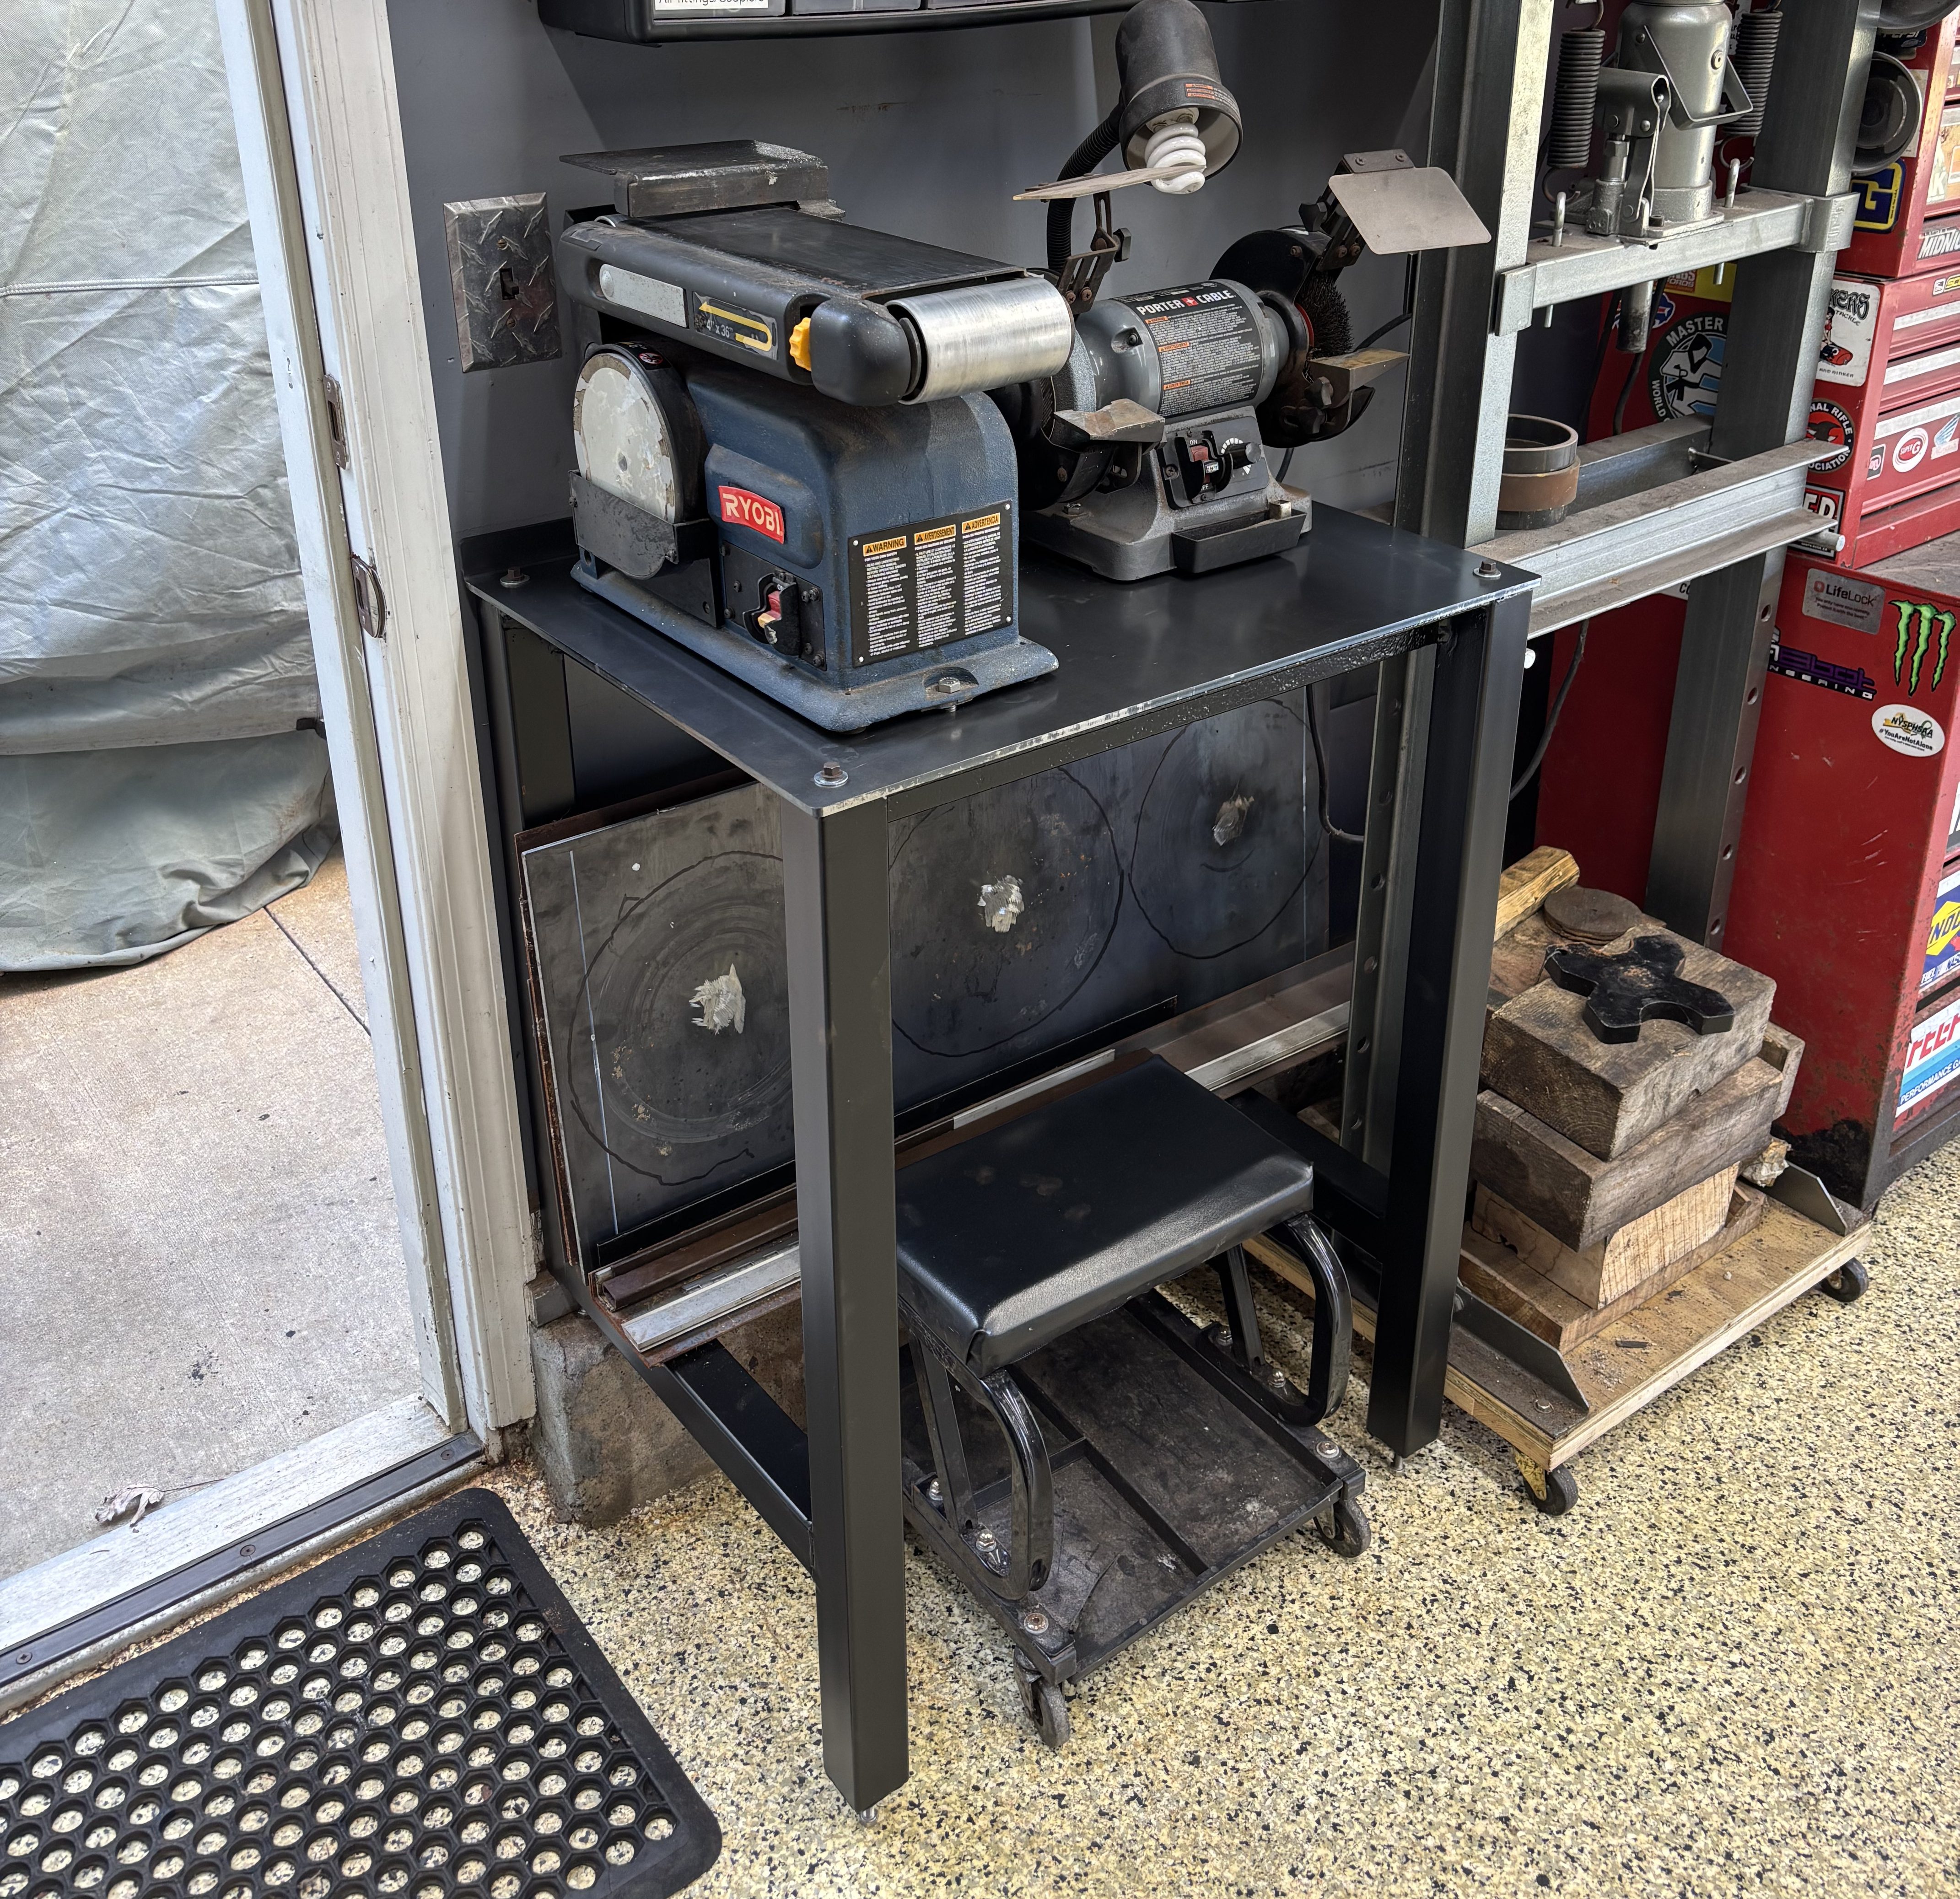
After finish welding the bench then had all exposed joints caulked and it was primed and painted black. The top plate was left as raw steel in case of being used as a welding table in the future. The feet were screwed into the bottom of the four upright tubes and the bench was balanced with a level. The bench grinder and tabletop sander were then installed onto the top of the bench. The bottom angle was filled with scrap sheet metal. This bench ended up being quite a success as it increased storage area, and will be very useful for future metalworking.
If anyone is interested in the files for this job, get a hold of me in the contact page.

 Newton Designs
Leave a comment